Please note that each teacher must manually publish the course(s) they want to be visible to students.
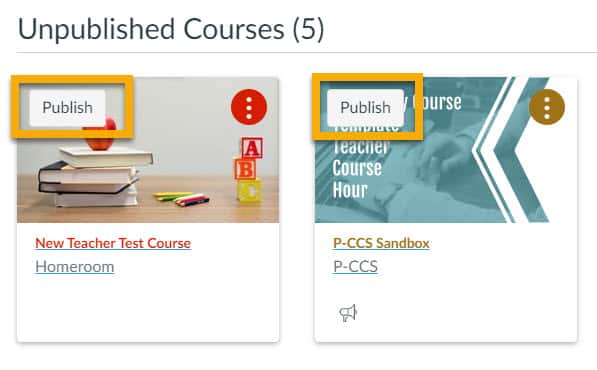
Publishing your course only takes one click! From the Course Card on your Dashboard, click “Publish” (see screenshot below).
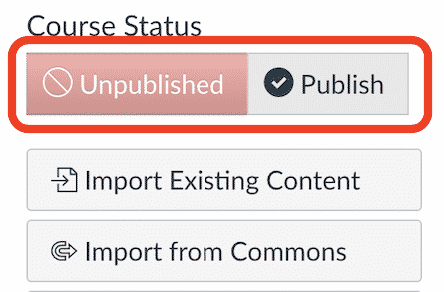
Alternatively, you can open the course home page and click the “Publish” button on the right side of the screen (see screenshot below).
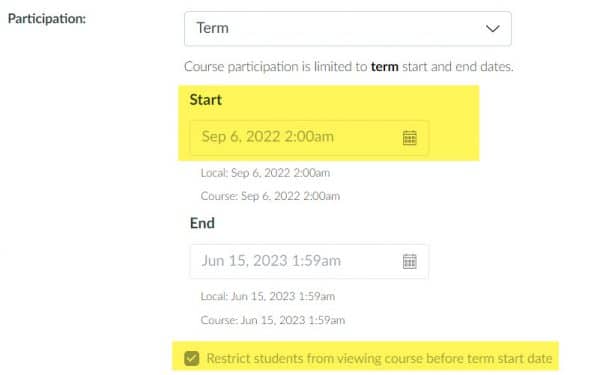
Rest assured, students will not be able to access the course until the term start date. You can verify this under the course Settings (and adjust if desired).
As a reminder, your courses in MISTAR have been auto-populated in Canvas and auto-rostered with students. These are the course(s) you should publish and actively use with students. Any manually created courses should either be copied or cross-listed with your auto-populated courses. You can also cross-list multiple sections of the same course following the instructions provided in one of our previous posts.