Skip to content

Category: Zoom

Upcoming Virtual Days? Tips for Success

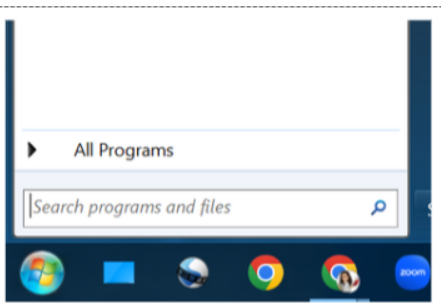
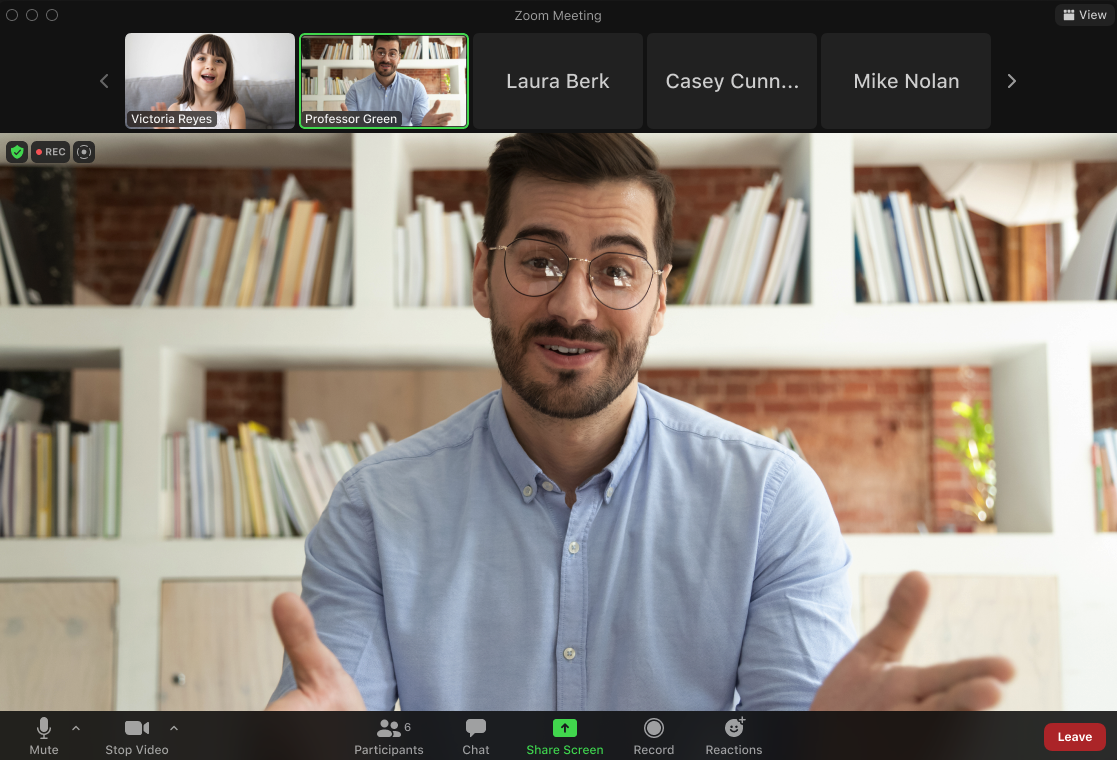
With State testing season upon us, you may have a virtual day coming up on your calendar. Please follow these tips to find success:

  1. If it has been a long time since you have opened Zoom, you will likely need to install an update. This is NOT as simple as clicking “update.” Please follow the guidance in this blog post.
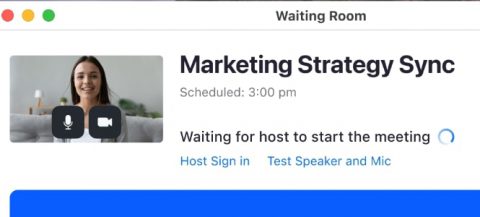
  2. In an effort to manage funds, not all staff have licensed Zoom accounts. When you login to Zoom be aware of any notice that you have a limited account and are limited to 40 minute sessions. If you see this type of messaging, please submit a tech ticket so your account can be upgraded.
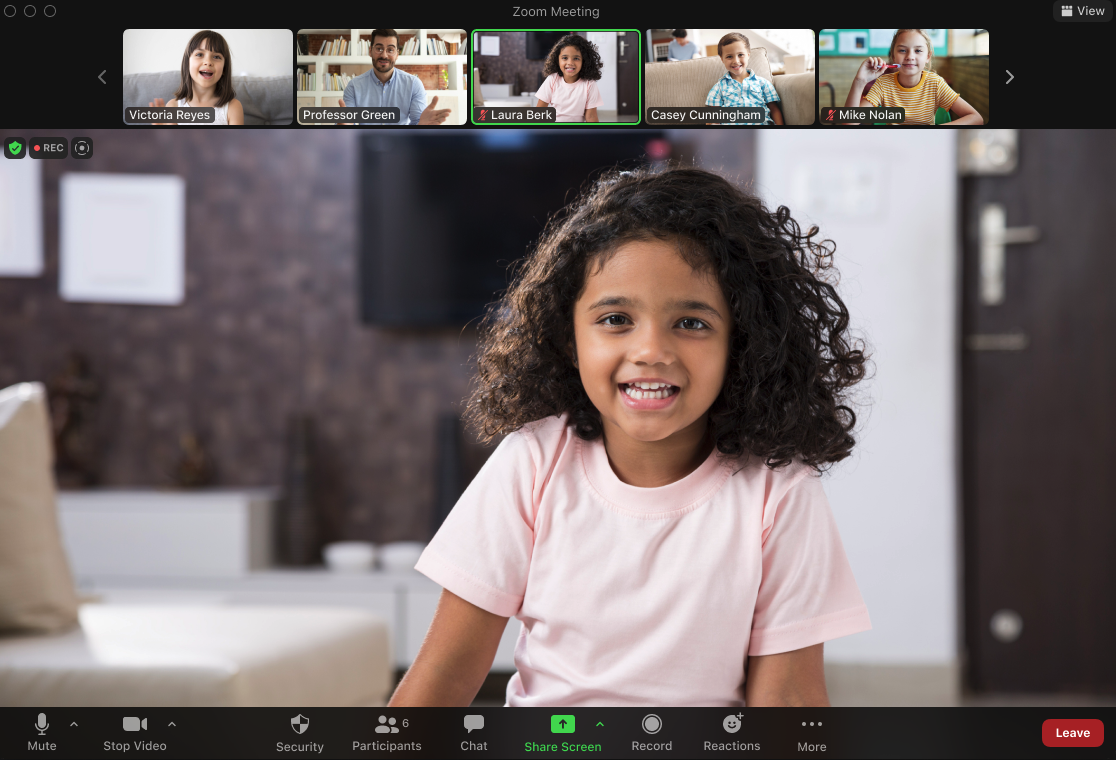
  3. Have students practice joining your Zoom, if possible. Related to that, check your Canvas page, do you have multiple Zoom links visible (perhaps in the Course Navigation Menu and near your name/room # on the homepage). To reduce confusion:
    1. Remove one of the options.
    2. Ensure that the duplicate links go to the same meeting.
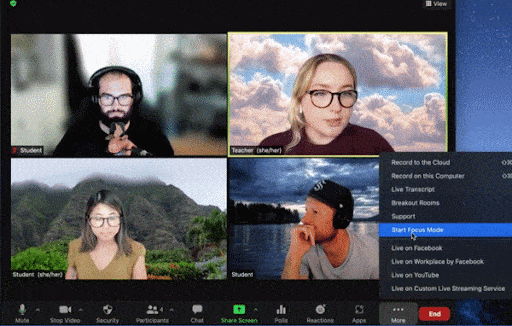
  4. Add any necessary co-hosts following these directions. Bear in mind, page 8 of the manual gives directions specific to adding co-hosts to a Personal Room if that is what you intend to use.

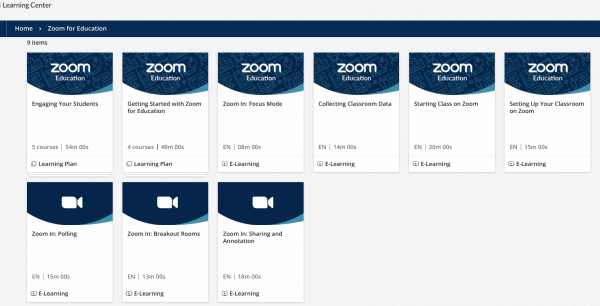
For more Zoom resources, please visit our Zoom resources on the P-CCS Tech site.

If you are unsure about any of these steps, please submit a tech ticket for assistance.

If you are prompted to update Zoom…

A new Zoom update has been recently released. For staff who might be using Zoom, especially to host meetings with students, please practice launching and hosting a Zoom meeting on your district laptop prior to video conferencing with students. If you have trouble with Zoom stating you need to update it, please do the following:

  • Go to the Company Portal and install Clean Zoom (This will remove all old versions of Zoom)

  • Wait until Clean Zoom has been installed

  • Go to https://zoom.us/support/download and download and install Zoom (This will install the latest version of Zoom)

Additionally, for those who don’t usually have Zoom meetings with students, that will in April, we suggest that you have students test joining your Zoom meetings prior to using them for class. Doing so will ensure that there are no issues with your Zoom meeting settings and that Zoom works correctly on student devices. Students can also test using Zoom by going to zoom.us/test.

MORE DETAILED GUIDANCE

Follow the steps below to complete the update. 

  1. Click on the Windows Start button on the bottom left of your taskbar start menu
  2.  In the search bar, search for Company Portal and open it
    1. When the Portal opens, search for Clean Zoom and install it; wait for it to be fully installed
    2. Copy and paste http://zoom.us/support/download into your browser to download the new version of Zoom 
    3. The download should appear on the top right of your Chrome browser bar; click on the arrow and then click on the download where download is
    4. It should start downloading and indicate that it was updated successfully
    5. You can confirm you are set by browsing to zoom.us/test.

Zoom Web Setting to be Added for New Meeting Join Flow

Zoom is in the process of rolling out changes to their meeting join flow. Starting January 22, paid accounts such as ours will see a temporary web setting to toggle the new join flow on. It can be toggled on and off to test the flow during a three month window before it is enabled for all accounts on April 22 and the web setting is removed.

What’s changing?

In the old join flow, users see up to three separate dialogue windows, which are consolidated into two as part of the new flow. After the update, the functionality of the first “waiting for host” window – which shows if the “join before host” setting is disabled, and ours are – will be combined with the Waiting Room, as seen in the image below. The Waiting Room will display the meeting’s status as either “Waiting for host to start the meeting” or “Host has joined. We’ve let them know you’re here.” In addition, in the video preview and waiting room, you now have the option to turn on/off your camera and mic.

Zoom join meeting changes

To facilitate this change, Zoom has also redesigned the Waiting Room and provided additional customization options, including uploading an image, updated the self-preview buttons and made minor changes to the text in the web settings. Any existing Waiting Room customizations are unaffected by this change, and these customization options will remain available through the settings page in the web portal.

Will this impact my already scheduled meetings?

All previously scheduled meetings will be automatically updated to the new join flow, and maintain the equivalent security settings as before. There should be no impact to each meeting’s settings, the meeting link, and participants’ ability to join these meetings.

For further information, please visit the New Meeting Join Flow FAQ

Zoom Breakout Room features and the mmhmm app

Zoom and mmhmm

Here are a few Zoom BREAKOUT ROOM reminders, a recent feature add AND an app that works within Zoom to possibly make it more engaging….

As the host of a meeting, you can still communicate and share information with participants from the main session even after you have assigned and moved participants to breakout rooms. This includes sharing your screen, sending a message, or broadcasting your mic audio to all open rooms. See this help guide to learn how to broadcast your microphone audio to all breakout rooms in a meeting. This setting is controlled separately from the broadcast message option.

The adjustment is now meeting hosts can view activity statuses of participants in breakout rooms (e.g. share screen, reactions).


If you’re a regular Zoom user, especially if working with students, and looking to enhance how you are seen in it, consider signing up for a free-to-educators premium mmhmm account (premium for 12 months, then reverts to basic version). The mmhmm app works with Zoom and lets you choose from a variety of virtual backgrounds or add your presentation slides as your background. There are also a variety of special effects that let you grow, shrink or turn yourself invisible.

from https://www.mmhmm.app/blog/mmhmm-premium-is-free-for-students-and-educators-for :

How to register as an educator (or high school student)

1. If you’re new to mmhmm, download the app and create an account. (it’s now available on Macs and Windows – and there’s even a web version.)

2. Once you have an account, or if you’ve already signed up, go to account.mmhmm.app/education and log in to your account with your e-mail and password.

3. To verify your eligibility, add your school e-mail address and tell us what you do.

4. Verify your e-mail by following the link we send.

5. Approvals can take up to five business days to complete. Once approved, your account will reflect the additional 12 months of Premium.

A couple of videos on how you might use the app.


Zoom resources

Zoom Teaching Tools

For those using Zoom, you might want to check out some of their curated resources for ideas and more.

Their Zoom Teaching Tools site reviews a series of Zoom tools combined with pedagogical strategies for you to incorporate into your existing lesson plans. These are designed to work at any graded level. Lesson plan templates can also be found there.

Their Educator’s Guide to Using Zoom in the Classroom covers how to get started with Zoom and find tips and resources for engaging parents and students. It’s worth at least a skimming even if you think you are familiar with Zoom as they concisely provide an overview of some of their newest features.

Their Parent & Student’s Guide to Using Zoom for Learning is just that. Some families and students might appreciate being shared this helpful guide.

Zoom’s Learning Center for Education offers recorded training sessions on some of their features (see screenshot below).

Zoom Learning Center for Education

Some recent Zoom updates

Zoom Updates

New and enhanced features include:

Zoom Whiteboard – In April, Zoom launched the all-new, designed-from-the-ground-up  Zoom Whiteboard, a cross-platform visual collaboration solution accessible in Zoom Meetings, Zoom Rooms, the Zoom desktop client for Windows, macOS, Linux, and the Zoom web portal. With Zoom Whiteboard, you can brainstorm and collaborate on a persistent, infinite digital canvas. Manage, share, edit, and duplicate Whiteboards directly from the Zoom Web Portal to access Zoom Whiteboard anywhere.

View breakout room activities from main session – Once breakout rooms are open, hosts and co-hosts can view the level of activity in each breakout room, including which participants are in each room, along with icons that show whether their audio or video is on, if they’re sharing their screen, and if they have any active reactions or nonverbal feedback. This feature requires hosts and participants to have client version 5.10.3 or higher. Viewing breakout room activities from the main session is also available for Windows, macOS, and Linux desktop clients.

Central library of polls – Users can manage a central library of polls for meetings. They can create or edit polls and use them for Personal Meeting ID (PMI) and non-PMI meetings. Previously, polls for PMI and non-PMI meetings were managed separately. When a poll is marked as available to all meetings, it will appear in the list of polls that can be launched in a meeting. This new central repository will not replace the “Personal Meeting (PMI) polls”; polls created here will only appear in PMI meetings. This feature is also available for Windows, macOS, Linux, Android, and iOS desktop clients.

————

How to get started with Zoom Whiteboard

Zoom Whiteboard

To get started with Zoom Whiteboard, you’ll need Zoom version 5.10.3 or later. Here’s how you can create, access, and share your digital whiteboards:

  1. Sign into your Zoom account using the Zoom client on your device or web browser.
  2. Select the Whiteboards tab, and choose New Whiteboard to start a whiteboard.
  3. To view your whiteboards, select the ‘My Whiteboards’ tab. You can also select ‘Shared with Me’ to view whiteboards that have been shared with you.
  4. To share a digital whiteboard you’ve created, open the whiteboard you wish to share, select the Share button, and type the contact or email you wish to share the board with.

*Pro tip: Be sure to visit our support page to learn more about Zoom Whiteboard and its features!

 Download the latest version of the Zoom desktop client to access all these features and more.

Some recent Zoom updates

Zoom Updates

New versions of the Zoom Mac, Windows, and Linux clients are now available for download as of Tuesday, March 22, 2022 at https://zoom.us/download.


New and enhanced features include:

Meeting/webinar features

  • Avatars

    When enabled during a meeting, Zoom’s technology uses your device’s camera to detect where a face is on the screen and apply the selected avatar effect. This feature requires 5.10.0 or higher.

  • Rename participants in Waiting Room

    Hosts and co-hosts can rename meeting participants in the waiting room before they enter the meeting. After locating a participant’s name in the waiting room section of the participant list, an option appears in the  menu to rename that participant. The participant is notified of this change.

  • Save Breakout Room assignments for future use

    When breakout rooms are created, the host can save that current configuration and participant assignments, which can be used in future sessions. This is only available for recurring meetings and limited to 10 saved configurations per user.

  • Share audio with content to all breakout rooms

    Hosts are able to share computer audio, along with shared content, to all breakout rooms. This can be enabled when beginning the share, or while sharing is in progress. This also supports the Share Video option as well for Breakout Rooms.

  • Optional include co-host when automatically assigning breakout rooms

    When creating breakout rooms and choosing to assign participants automatically, any co-hosts will now not automatically be included in the assignments, but the host can choose to include them.

Some recent Zoom updates

Zoom Updates

Customise Zoom waiting room with video – Hosts can add a video when customizing the appearance of the waiting room in the web portal. Participants in the waiting room can view the video while waiting for the host to admit them into the meeting.

Updates to the Zoom Windows Desktop Client

Meeting/Webinar Features

  • Enable Blur Background during a meeting – Users can quickly blur their backgrounds during a meeting, without needing to access their Zoom client settings. The Blur My Background option is available from the start/stop video menu in the main toolbar, the 3-dot menu on the user’s video tile, and by clicking anywhere on your video image. The option is also available on the self-preview screen before the user enters a meeting. This option is available for Windows and macOS.
  • Manage breakout rooms after launch – The host or co-host that launched the breakout rooms, as well as the original host, can now rename, create, and remove rooms while they are in use. To adjust breakout rooms while they are open, this option must be enabled for your account by Zoom and turned on in your Breakout Room settings. All meeting participants must also be running version 5.9.3 or higher. Learn more about managing breakout rooms on the Zoom Support Site.

Zoom Features for your Virtual Classes

Zoom Updates

There have been some updates to Zoom that help facilitate online learning for teachers and students. Check them out below.

  1. Save Zoom recording directly to Canvas. You can now save your Zoom recordings directly to Canvas Studio to easily integrate and share with your students. It just requires a few clicks to set this up in Canvas. Video tutorial.
  2. Create a seating chart in Gallery View. In your account settings, you will need to enable, “Allow host to save video order.” When you are in your meeting, arrange the students as you would like while in Gallery View and click save. If it is a recurring meeting, the video order will be saved for future meetings. More information.
  3. Turn on Focus Mode. This mode allows you to see all the student screens, but students only see the teacher’s video. You can even set it up for your meeting to being in Focus Mode.  More information OR check out this  5 minute explanatory video
  4. More polling and quizzing options. Zoom has expanded their polls to eight different question types and added the ability to add images. You can also set up the poll to be a quiz. More information.
  5. Add video to the Waiting Room. Maximize instructional time by adding a video to play while participants are in the Waiting Room. Unfortunately, this is a general setting to be applied to all your waiting room and not tied to a specific meeting. You can customize this when logged in to your web portal at www.zoom.us Video tutorial.
  6. Zoom Learning Center. Zoom now offers a free educational platform for all new and existing users, including on-demand courses, live trainings, and short videos designed to give you just what you need when you need it to know how to best use their service. Login at https://learning.zoom.us/ Zoom Learning Center

Zoom’s Focus Mode feature

While we highlighted this feature before school began (see blog post here), we continue to get questions about how to use it so are providing more details below.

Focus mode is designed with the digital learning environment in mind, allowing students to stay attentive or work on their tasks while under supervision, without being distracted by others and their tasks. This feature gives the host and co-hosts view of all participants’ videos without other participants seeing each other. This extends into screen sharing, as the host and co-host can view and switch between each participant’s shared screen, while the participants can only view their own content. If the host finds a participant’s content should be shared with others, they can easily begin sharing the participant’s screen with others.

Besides the host, co-hosts, and participants spotlighted by the host, participants in focus mode can still see their own video but only see other participants’ names, their nonverbal feedback or reactions, and hear them when unmuted.

Prerequisites for focus mode

  • Start a meeting as the host
  • Zoom desktop client
    • Windows: version 5.7.3 or higher
    • macOS: version 5.7.3 or higher

User

To enable or disable Focus mode for your own use:

  1. Sign in to the Zoom web portal.
  2. In the navigation panel, click Settings.
  3. Click the Meeting tab.
  4. Under In Meeting (Advanced), click the Focus Mode toggle to enable or disable it.
  5. If a verification dialog displays, click Enable or Disable to verify the change.

How to engage focus mode as the host or co-host of a meeting:

  1. Start a meeting as the host or co-host.
  2. Click More  on the meeting toolbar.
  3. Click Start Focus Mode.
  4. Click Start to confirm, or select the Don’t ask me again check box to skip this confirmation going forward.
  5. When Focus mode begins, you and the participants are notified with a banner along the top of the video window. Additionally, the focus mode  icon is always visible in the top-left corner of the video window, next to the encryption icon, while focus mode is active.

Once Focus mode has been started, participants in focus mode will only see the video of the host, co-hosts, any participants spotlighted by the host, and their own video. They will only see other participants’ names, their nonverbal feedback or reactions, and hear them when unmuted.

Participants’ shared screens are only visible to the host and co-hosts, but the host can allow all other participants to view as well:

  1. Click the up arrow  to the right of Share Screen .
  2. In the Shared screens can be seen by section, click All participants.
  3. (Optional) To return to just host and co-hosts viewing shared content, select Host only.
    Note: These options are only available when in Focus mode.

How to end focus mode:

  1. Click More  on the meeting toolbar.
  2. Click Stop Focus Mode.

Focus mode examples

Below are examples of Focus mode in a meeting. First, what the host or co-hosts see during Focus mode, followed by what a participant would see.

Host view:

Participant view when one participant is spotlighted:

see this support article for more assistance https://support.zoom.us/hc/en-us/articles/360061113751-Focus-mode-