As of now, all instructional staff working with K-12 students should have been issued a new Dell Latitude 3520 laptop, with the exception of a few make-ups that have yet to be deployed. We appreciate everyone’s patience and want to thank staff for being cooperative, given our expedited time frame to issue all devices in the district. Even we are adjusting to the new technology and all the changes involved with the new Dell laptops. Besides the differences in the look and feel of staff laptops, one of the biggest changes is the addition of the Microsoft Company Portal.

What is the Company Portal?
The Company Portal is part of a new data management system that allows PCCS staff to securely download and install district-vetted programs and updates. The Company Portal can be thought of as an App Store for PCCS, including all apps and utilities used in-district. We surveyed the list of programs that were being used by teachers and staff members in the district and included the vast majority of these in the current app list in the Company Portal. The list of available apps in the portal is ever-growing,
You may have noticed that installing programs outside of the Company Portal prompts for an administrator username and password. This is completely to be expected and is designed to protect your laptop and files safe from malware or malicious programs. Safeguarding devices connected to our network protects our infrastructure and makes our districts less susceptible to cyber attacks. It’s also something our insurance company has begun to insist on for us to remain with coverage.
How do I install the Company Portal on my computer?
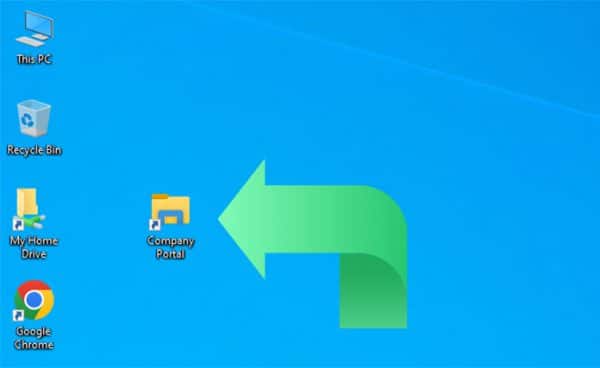
The Company Portal should install on your laptop after about an hour of initial use. Once you log into your laptop for the first time, it gets pushed out to your device and usually takes about that long to appear. Once installed, and following another restart, a shortcut to the Company Portal should later appear on your desktop. If you do not see an icon for Company Portal, it’s possible that it hasn’t been pushed to your device yet. A restart often helps, but it is also possible that you can find the Company Portal by searching for it.
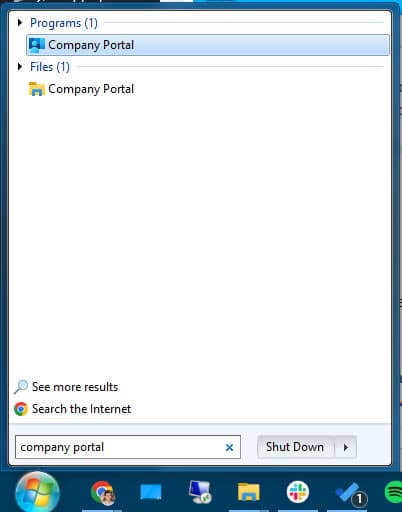
If you click the Start button and begin to search for “company portal”, you should see the app populate in the search results. Once the program opens, feel free to right-click the icon at the bottom of the screen and select Pin to taskbar so it is readily accessible when you want to open the Company Portal in the future.
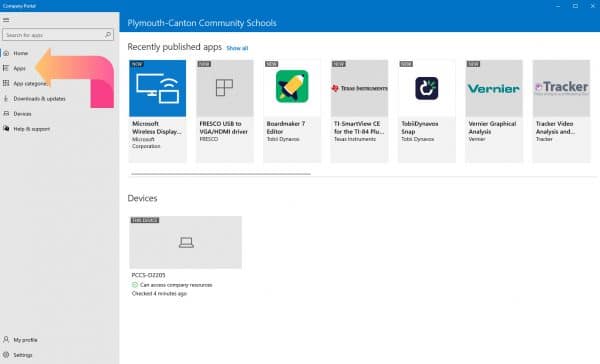
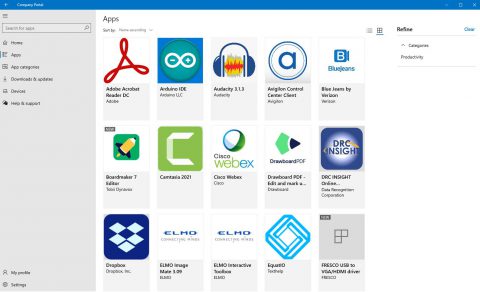
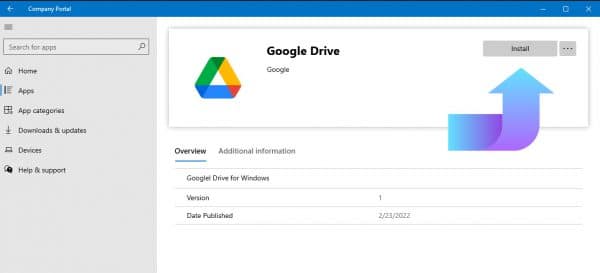
Once the Company Portal opens, click Apps to see a full list of all available apps in the Company Portal.

How do I install the apps I need?
Click the app you’d like to install and click Install. Please do not disconnect from the Internet or close the lid during the installation process. Some apps are larger than others and require more time to download and properly install.
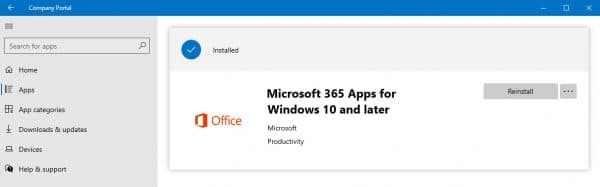
You will know an app is completely installed when you see the blue checkmark and Installed at the top of the screen.
Should I install everything in the Company Portal?
There is no need to install all available apps in the Company Portal. If you have a specific software need, there is likely an app added to the library to meet that need. See the table below for some examples.
| To use: |
Install these apps: |
| Smart Notebook software |
SMART Education Software
SMART Product Drivers |
| Microsoft Office |
Microsoft 365 Apps for Windows 10 |
Please note, if it is a paid app or subscription service (and some of them are), and you don’t have the license for it, you won’t be able to run it even if you do install it.
There is software I would like to use and it’s not available in the Company Portal. How can I install it?
If there is software you’d like to use and it provides educational value, you can request to have it added into the Company Portal. Please click here to submit a tech request and choose Computer Software Request. We will gladly evaluate the request and add it to the Company Portal if it is something Teaching and Learning and/or the Technology Department deem educationally valuable for staff members.
I still don’t see the Company Portal on my laptop. What do I do?
If you don’t see the Company Portal, even after searching for it, it may be due to a setting tied to your logon profile. Please submit a tech request and let us know so we can look into it!
Have any questions?
If you have any questions about how the Company Portal works or need help setting up any apps, please submit a tech request and a member of our department would be happy to help you.


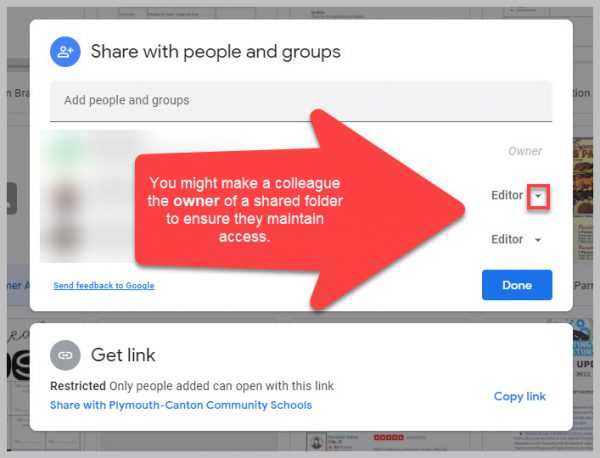
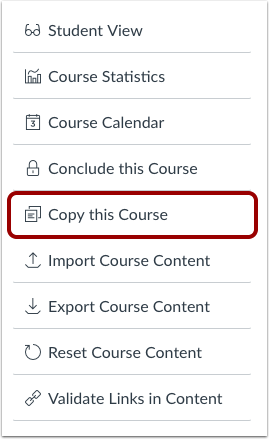 If you want to share your course with another teacher, you can