There have been some updates to Zoom that help facilitate online learning for teachers and students. Check them out below.
- Save Zoom recording directly to Canvas. You can now save your Zoom recordings directly to Canvas Studio to easily integrate and share with your students. It just requires a few clicks to set this up in Canvas. Video tutorial.
- Create a seating chart in Gallery View. In your account settings, you will need to enable, “Allow host to save video order.” When you are in your meeting, arrange the students as you would like while in Gallery View and click save. If it is a recurring meeting, the video order will be saved for future meetings. More information.
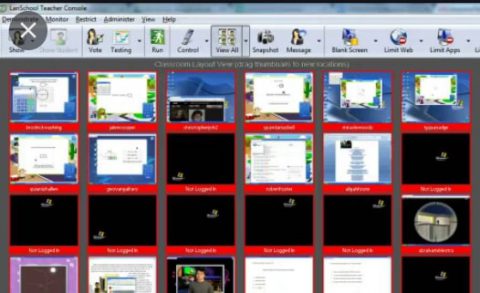
- Turn on Focus Mode. This mode allows you to see all the student screens, but students only see the teacher’s video. You can even set it up for your meeting to being in Focus Mode. More information OR check out this 5 minute explanatory video
- More polling and quizzing options. Zoom has expanded their polls to eight different question types and added the ability to add images. You can also set up the poll to be a quiz. More information.
- Add video to the Waiting Room. Maximize instructional time by adding a video to play while participants are in the Waiting Room. Unfortunately, this is a general setting to be applied to all your waiting room and not tied to a specific meeting. You can customize this when logged in to your web portal at www.zoom.us Video tutorial.
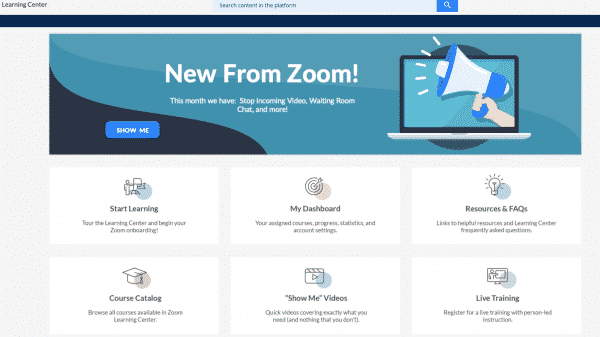
- Zoom Learning Center. Zoom now offers a free educational platform for all new and existing users, including on-demand courses, live trainings, and short videos designed to give you just what you need when you need it to know how to best use their service. Login at https://learning.zoom.us/