BrainPop’s March newsletter for K-12 instructional staff can be found HERE. As a reminder, all district students, K-12 can access our paid subscription to BrainPop/BrainPop Jr via Clever at https://clever.com/in/pccs.
Pics below show what’s in their March newsletter.
———–
March 2022
Dear Educators,
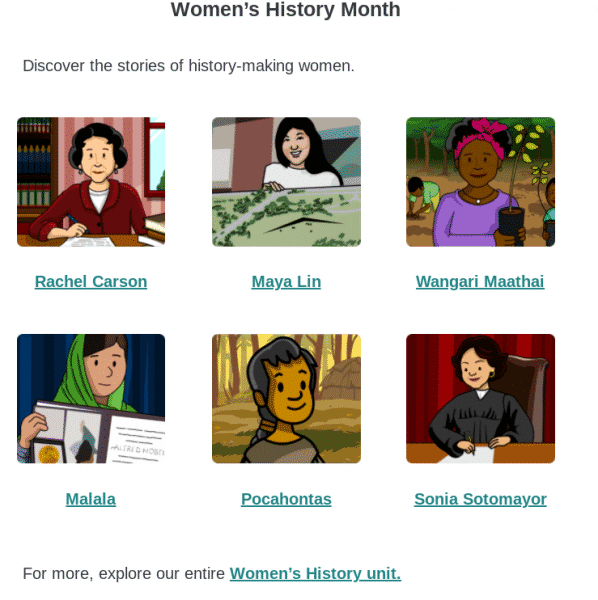
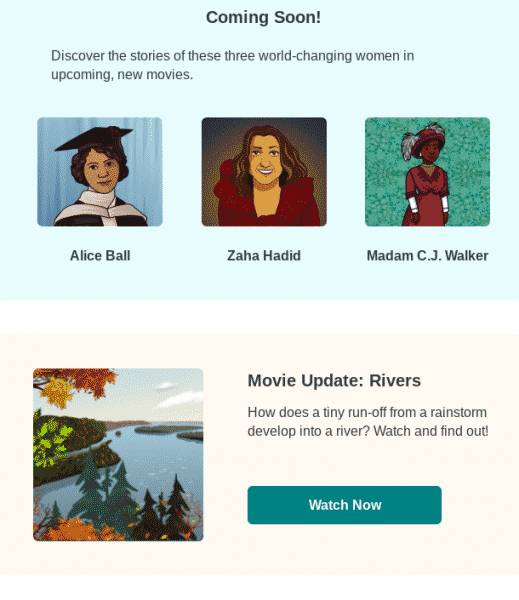
In celebration of Women’s History Month, BrainPOP is proud to share the stories of inspirational women in the worlds of art, science, politics, business, and more—from the visionary architect Zaha Hadid to Supreme Court Justice Sonia Sotomayor!
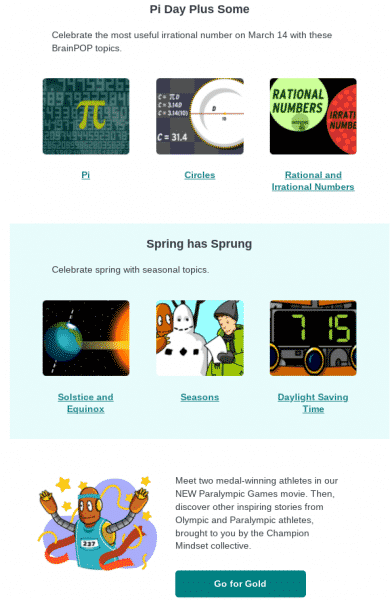
March also means Pi Day and springtime! Be sure to explore all of our collections in this issue of the Teachers’ Lounge.