New and enhanced features include:
Zoom Whiteboard – In April, Zoom launched the all-new, designed-from-the-ground-up Zoom Whiteboard, a cross-platform visual collaboration solution accessible in Zoom Meetings, Zoom Rooms, the Zoom desktop client for Windows, macOS, Linux, and the Zoom web portal. With Zoom Whiteboard, you can brainstorm and collaborate on a persistent, infinite digital canvas. Manage, share, edit, and duplicate Whiteboards directly from the Zoom Web Portal to access Zoom Whiteboard anywhere.
View breakout room activities from main session – Once breakout rooms are open, hosts and co-hosts can view the level of activity in each breakout room, including which participants are in each room, along with icons that show whether their audio or video is on, if they’re sharing their screen, and if they have any active reactions or nonverbal feedback. This feature requires hosts and participants to have client version 5.10.3 or higher. Viewing breakout room activities from the main session is also available for Windows, macOS, and Linux desktop clients.
Central library of polls – Users can manage a central library of polls for meetings. They can create or edit polls and use them for Personal Meeting ID (PMI) and non-PMI meetings. Previously, polls for PMI and non-PMI meetings were managed separately. When a poll is marked as available to all meetings, it will appear in the list of polls that can be launched in a meeting. This new central repository will not replace the “Personal Meeting (PMI) polls”; polls created here will only appear in PMI meetings. This feature is also available for Windows, macOS, Linux, Android, and iOS desktop clients.
————
How to get started with Zoom Whiteboard
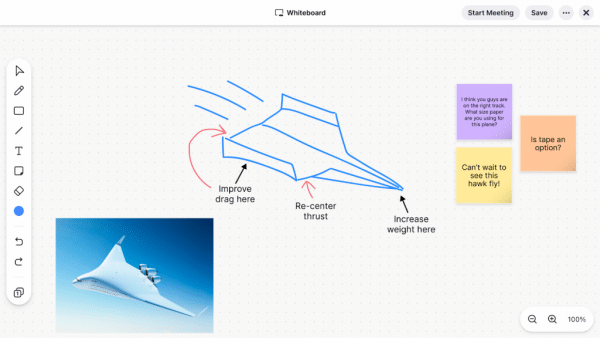
To get started with Zoom Whiteboard, you’ll need Zoom version 5.10.3 or later. Here’s how you can create, access, and share your digital whiteboards:
- Sign into your Zoom account using the Zoom client on your device or web browser.
- Select the Whiteboards tab, and choose New Whiteboard to start a whiteboard.
- To view your whiteboards, select the ‘My Whiteboards’ tab. You can also select ‘Shared with Me’ to view whiteboards that have been shared with you.
- To share a digital whiteboard you’ve created, open the whiteboard you wish to share, select the Share button, and type the contact or email you wish to share the board with.
*Pro tip: Be sure to visit our support page to learn more about Zoom Whiteboard and its features!
Download the latest version of the Zoom desktop client to access all these features and more.