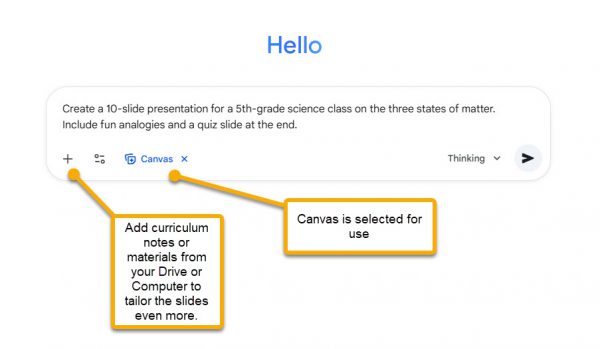
Let’s be honest: clicking through student submissions is rarely the highlight of a teacher’s day. We know that when you are grading 150 daily assignments, every single mouse click adds up.
Recently, you might have noticed some changes in SpeedGrader. While the interface looks cleaner, some of you have reported a major “speed bump”: hitting the “Enter” key after typing a grade no longer automatically advances you to the next student.
For our “power users” who used browser extensions (like Canvas Betterizer) to enable that feature, this feels like a step backward. But for those of you who have always manually clicked the “Next” arrow 150 times a day—we have a trick that is going to save you serious time.
Whether you are trying to fix your broken workflow or simply want to grade faster than ever before, here is everything you need to know to master the new SpeedGrader.
1. The Secret to Faster Grading: The ‘J’ Key
If you miss the days of auto-advancing, or if you never knew you could grade without touching your mouse, meet your new best friend: The ‘J’ Key.
Canvas has a built-in suite of keyboard shortcuts that are significantly faster than reaching for the mouse to click “Next.”
The “No-Mouse” Workflow:
- Type the score in the grade box. (Use the G shortcut to automatically navigate to the grade box)
- Press Enter (to save the score).
- Press ‘J’ on your keyboard.
Voila! You are instantly transported to the next student. Need to go back? Press ‘K’.
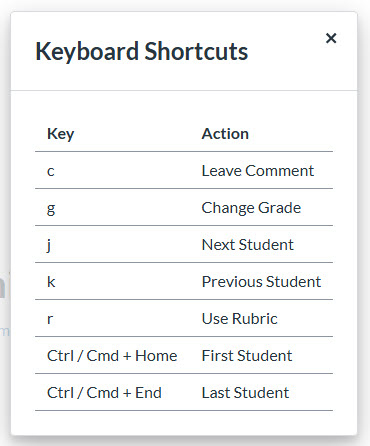
SpeedGrader Shortcut Cheat Sheet:
- J = Next Student
- K = Previous Student
- G = Jump to Grade Box
- C = Jump to Comment Box
- R = Use Rubric
Pro-Tip: You can view all available shortcuts by clicking the Gear Icon in the top-left of SpeedGrader and selecting “Keyboard Shortcuts.”
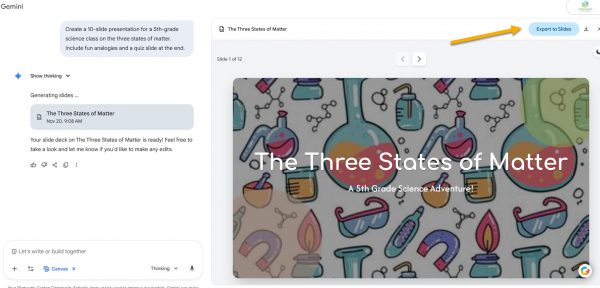
2. Why the Change? (The Good Stuff)
This change isn’t just cosmetic; it is part of the “Performance and Usability Upgrades” which is now enabled by default. In exchange for learning the ‘J’ key, we get faster load times, better stability, and powerful new grading tools:
Richer Feedback (Math, Images & Links)
This is a huge win for math and science teachers. The Assignment Comment Editor has been upgraded to support:
- Images: You can now paste an image directly into your feedback comments.
- Math Equations: Use the equation editor to show students exactly where a calculation went wrong.
- Course Links: Easily link students to a specific resource or page in your course for review.
Rubrics Are Ready When You Are
If you use rubrics, you know the pain of constantly clicking to open them. With this update, rubrics now automatically display in the traditional view, saving you that extra click on every single student.
Change Status Manually
Previously, if you wanted to mark a student as “Excused” or change a “Late” tag, you had to leave SpeedGrader. Now, the Submission Status is a simple drop-down menu right in the sidebar. You can instantly toggle between Missing, Late, Excused, or None without leaving your grading flow.
Speed & Organization
Under the hood, this update brings faster load times and better stability. On the surface, you get better organization, including:
- A Multi-Select Sections filter (specify which sections you want displayed)
- A clearer “No Submission” alert so you don’t waste time looking for missing files.
- A Comment Library filter to find your saved comments faster.
The Bottom Line
Change is always tricky, especially when it messes with our muscle memory. But with the new ability to leave rich feedback and the speed of the ‘J’ key, this update is designed to make your grading life easier in the long run.
One More Update
You can also have more granular control of when scores and feedback are released to student in order to accomplish your goals. Now, you can plan exactly when students see their rubric scores and comments, whether that’s to start a dialogue before grades are finalized, or to hold feedback until a review session or moderation is complete. Read more about that from the Canvas blog.