I’m pleased to share that we’ve recently launched Canva for Education district-wide! Canva makes it easy to create, collaborate, and communicate visually – in the classroom and beyond. If you’ve never heard of Canva for Education, you can learn more about the tool here.
With Canva for Education, you can create classroom decor kits, Canvas buttons & banners, education presentations, lesson plans, worksheets, reports, posters, and more. You can empower your students through authentic assessments and tasks, enabling them to create beautiful, real-world deliverables quickly and easily. You can use Canva for student assignments and enable real-time collaboration on Canva projects. Students can turn-in these projects and you can embed your designs easily with the Canvas integration.
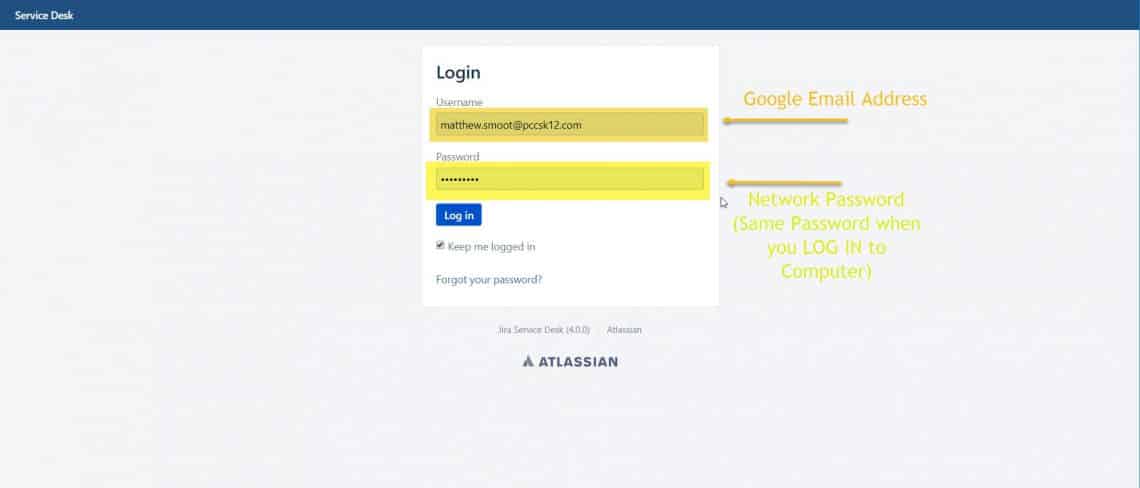
Everyone with a district email address will receive all the benefits of Canva for Education, including all of Canva’s “pro” features, at no cost and with no validation or application required. You can log in to our new Canva district team with your district credentials at www.canva.com and you can also find it in the waffle.
Please take some time to review this teacher onboarding guide from the team at Canva. We encourage everyone to review these materials, as there are some aspects of the district Canva platform that will differ from what you may be used to if you’ve already used Canva. If you already have a Canva account under your district email address it’s especially important to pay attention to the pages that have to do with logging in, switching teams, and copying files. You can view just those pages here.
If you have any questions about Canva, or would like to learn more about using Canva in the classroom, you can contact a Tech Integration Specialist by submitting a ticket. There are also lots of great resources available at designschool.canva.com.
See additional resources below.