Beginning May 1st, your District voicemail will start syncing with your Gmail inbox. This means that actions taken in one of these systems will affect the other.
Voicemail/Gmail Functionality PRIOR to May 1, 2023
When a voicemail is left in a staff member’s District voicemail mailbox, that staff member receives an email notification with a copy of that voicemail. Actions taken, such as listening to or deleting the voicemail, in our voicemail system do not impact the email notification in Gmail. Actions taken in Gmail also do not impact our voicemail system.
Voicemail/Gmail Functionality AS OF May 1, 2023
When voicemails are left, staff will be emailed a notification in their Inbox AND actions they take on that message will affect the message stored in the District voicemail system (and vice versa).
ON THE GMAIL SIDE
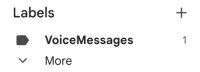
By default the message in the Gmail account will have the VoiceMessages label applied (see image below).
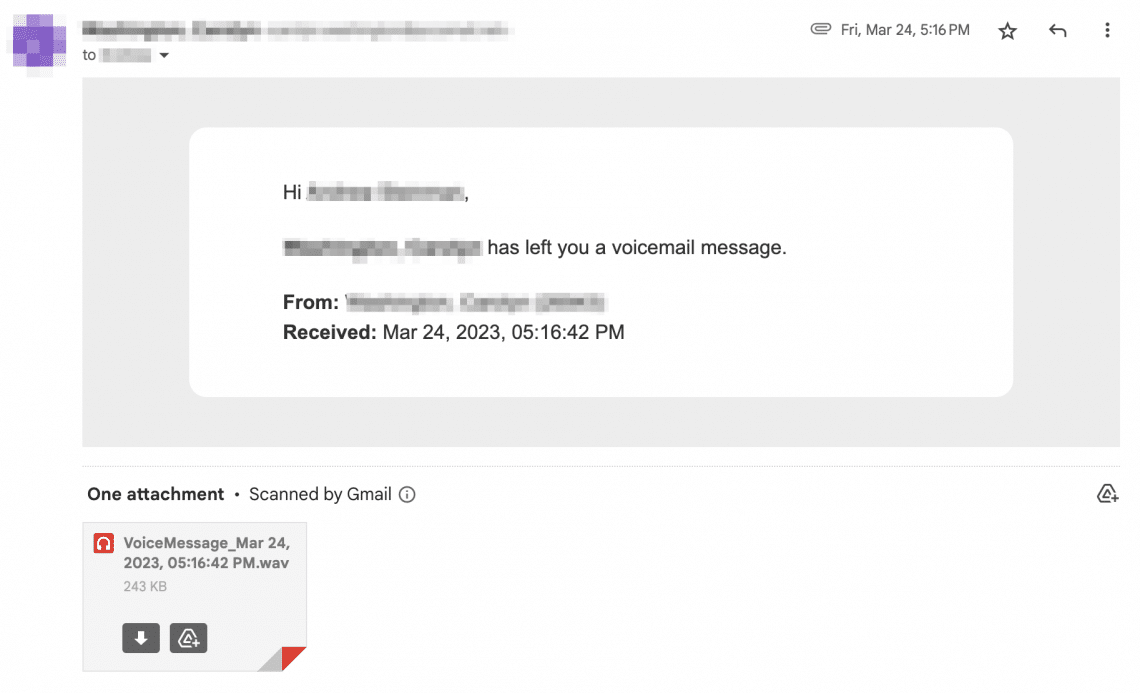
The email notification will look similar to the notification shown below. Hovering over the attachment will allow you to download or save it to Google Drive. Clicking on it will allow you to listen to the voicemail message.
Like other email messages, voicemail notifications will be marked as unread when they are received. However, unlike other email messages, voicemail notifications are subject to the aging policies associated with the District’s voicemail system. The 3 points below describe what happens to unread, read, and deleted voicemail notifications in Gmail and the District’s voicemail system.
- If a voicemail notification is opened OR left unread for 40 days, the email will be marked as read and the corresponding voicemail in the District’s voicemail system will be marked as Saved.
- If a voicemail notification is deleted OR left as read for 60 days, the email will be moved to Trash and the corresponding voicemail in the District’s voicemail system will be marked as Deleted.
- Deleted messages will be permanently deleted from Gmail AND the District’s voicemail system after 5 days.
ON THE PHONE SIDE
Similarly, actions taken in the District’s voicemail system will impact voicemail notifications in Gmail.
- If a voicemail message is listened to OR left ignored for 40 days, it will be marked as Saved and the corresponding email notification will be marked as read in Gmail.
- If a Saved voicemail message is deleted OR left ignored for 60 days, it will be marked as Deleted and the corresponding email notification will be moved to Trash in Gmail.
- Deleted messages will be permanently deleted from the District’s voicemail system AND Gmail after 5 days.
Keeping Voicemail Messages Beyond the Defined Aging Policy
While most voicemail messages only need to be kept for a short period of time, there are some voicemails that might need to be kept for longer periods of time. To keep a voicemail message beyond the District voicemail system’s aging policy, it is recommended that you download it from Gmail to your computer. It is also possible to save the voicemail message to Drive or to forward the email to yourself.
REMINDER: Voicemail Message Quotas Still Apply
As a reminder, your voicemail mailbox has a quota for the total amount of storage it can use. Mailbox quota warnings will be emailed out should your mailbox approach or reach its limit. Please note that once your mailbox has reached its limit, you will no longer be able to receive new voicemail messages.
The ‘Why’ for Voicemail Aging Policy and Storage Quotas
The District’s voicemail system has an aging policy and storage quotas for voicemail messages due to the total storage limit for District voicemails. While it is possible to increase the District’s total voicemail storage (up to a point), doing so would incur additional ongoing costs to the District.
Questions or Issues
If you have any questions or issues related to your District voicemail, please submit a service ticket.