Use Sections to Manage Green/Blue Cohorts

Image of finished sections

Sections allow you to subdivide students within a course. It allows you to set different due dates for assignments, quizzes, and discussions. This is ideal for managing the Blue and Green Cohorts in the hybrid schedule.

Set up Groups

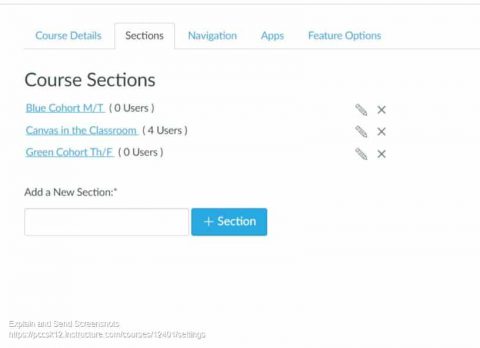
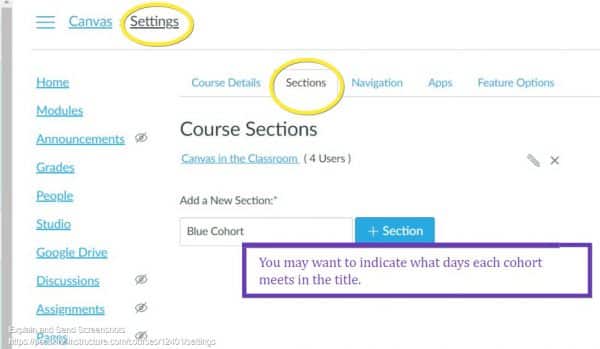
First go to Settings from the Course Navigation menu and you’ll find a tab entitled “Sections.” You can add and name your sections however you wish.

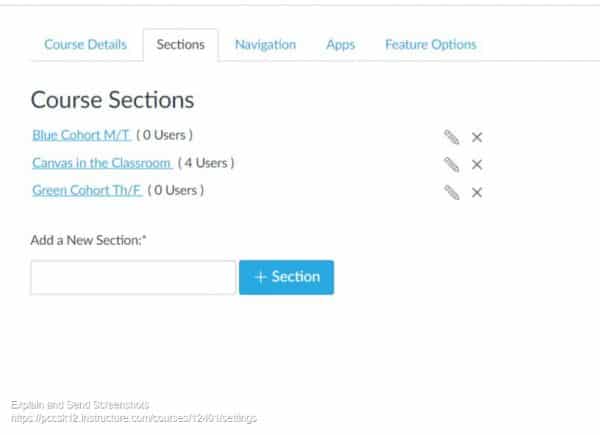
Here’s what you might have for your classes, the sections will be ordered alphabetically:

Image of finished sections

Add Students to Sections

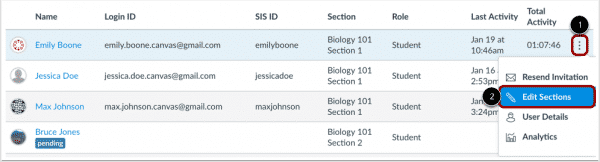
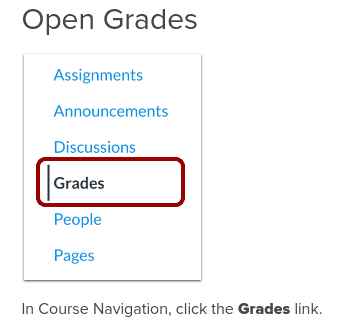
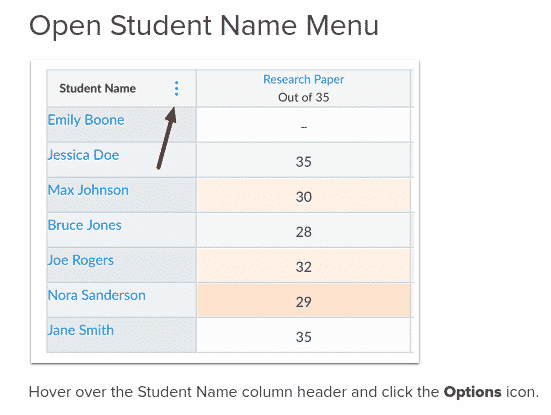
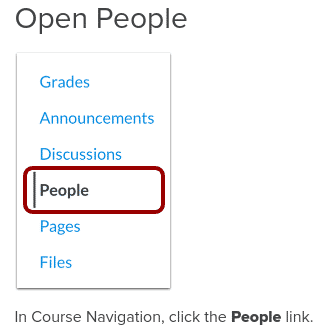
Click on “People” in the Course Navigation menu to add students to the proper section.

Visual of steps to add people to sections

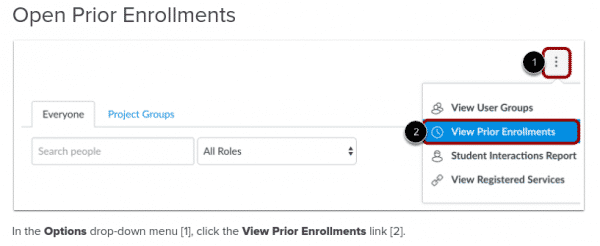
A pop-up will appear and you can start typing the name of the cohort and it will appear for you to select or you can click “browse” and the options will appear.

Image of editing section enrollments

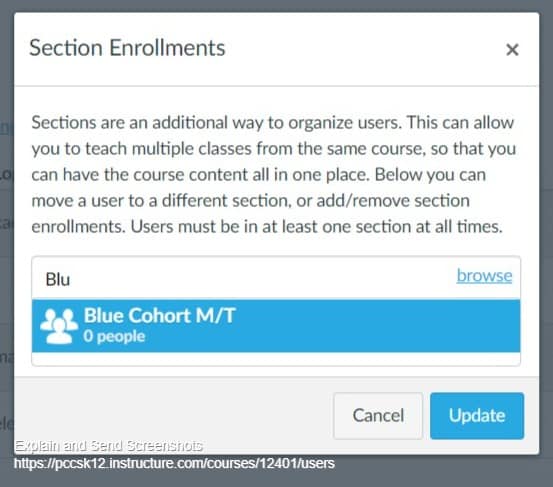
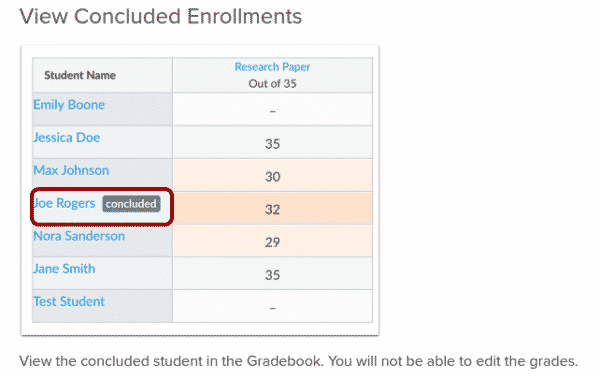
Do this for each user. When finished you’ll be able to see which cohort/section each user is in.

Image of cohorts denoted in roster

You can remove the section following the same grading process.

Assignments for Sections

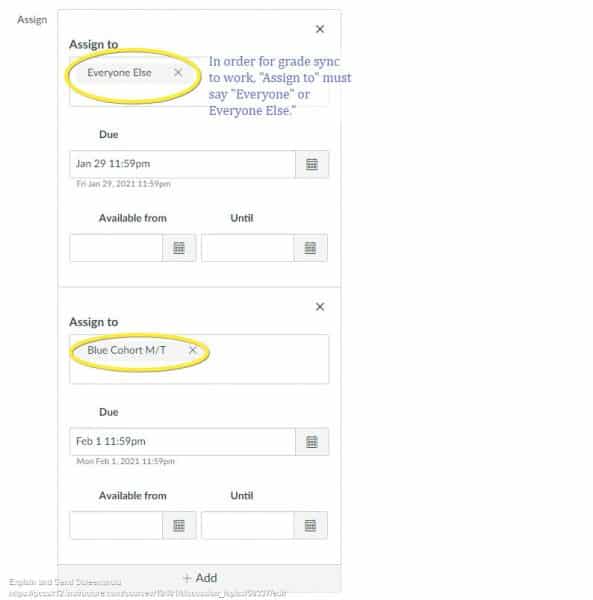
For the purpose of syncing with MiStar, it is very important you ensure one of the “Assign to” groups is listed as “Everyone”
or “Everyone Else.” Do not assign to Blue Cohort and Green Cohort, grading sync will not work.

Image indicating use of everyone or everyone else


Semester 2 and Quarter 3 Courses Published in Canvas

Publishing of Canvas Courses

To assist teachers, Canvas automatically published all Semester 2 and Quarter 3 courses automatically generated through the MISTAR/Canvas sync

Please note the following:

  • Students only have access to Published courses. If you have any courses that you do not want students to see, please be sure to Unpublish those courses. (see below) If a course is Unpublished they will not see it on their dashboard. To Unpublish a course, go to the course you don’t want students to access and select Unpublish at the top-right part of the screen. You cannot unpublish a course after you assign something to a student.
  • Manually created courses were not automatically published. If you would like to publish any of your manually created courses, please follow these instructions.

Reminder: Customizing Your Canvas Dashboard

To customize the teacher or student dashboard to show certain courses please see the graphic below:

Dashboard

FYI, BrainPop has updated their Primary Source feature

BrainPop

BrainPop recently made significant updates to their Primary Source feature, making it even more useful for remote and in-person learning needs. Now students can answer free-response questions directly on their site and submit answers immediately for a teacher’s review.

With Primary Source, students can deepen their understanding of a topic by closely examining real historical artifacts and answering free-response questions designed to prompt critical thinking and deeper exploration.

Primary Source

View Grades and Submissions for ‘Concluded’ Students in Canvas

This post is for teachers who do not “see” some of their students in Canvas because those students’ enrollments have ‘concluded’. Enrollments are concluded, for example, as students move from one school track to another (e.g. between Virtual and Safe Start schools). If you are unable to “see” some students, there are three areas in Canvas (via Grade or People in the Course Navigation Menu or via User Details) to do so. We recommend using the Grades option described below.

Option 1: Grades (in the Course Navigation Menu)

For concluded student enrollments, all content in the Gradebook is read only and cannot be changed. You will need to input any grades into MISTAR manually that weren’t already moved via grade passback when the student was still active.

To see the grades of students who have concluded their enrollment in your Canvas course, do the following:

Open Grades

options

concluded

view concluded

HINT: Be sure to drag the right side dividing line of the Student Name column so that you can see both the entire student name AND the label “concluded”.

The above guidance is from: https://community.canvaslms.com/t5/Instructor-Guide/How-do-I-view-grades-for-inactive-or-concluded-student/ta-p/753

Option 2: People (in the Navigation Menu)

As with the Gradebook, individual grades can also be viewed through this approach.

People

prior enrollments

prior enrollments more


Option 3: User Details

As with active students, you can review grades and other details of your concluded users. Please see https://community.canvaslms.com/t5/Instructor-Guide/How-do-I-view-user-details-for-an-enrollment-in-a-course/ta-p/1216 for elaboration.

Sound issues in Zoom?

Below are a few suggestions to address sound issues you might be experiencing in a video meeting.

*** In a pinch, JOIN BY PHONE instead of COMPUTER — While continuing your video stream, if you joined computer audio automatically, you can leave the computer audio and join by phone. For visual guidance on how to either join initially by phone or transition during a meeting, see this article https://support.zoom.us/hc/en-us/articles/201362663-Joining-a-meeting-by-phone 

*** FOR WINDOWS 10 devices – Microsoft released a recent update that might resolve this issue. We recommend running the update when you don’t need your laptop for an hour or so since it takes nearly all of that time for the update to run. Make sure the laptop is plugged in. Close any open tabs/programs as well before clicking on the link below to run the update.

Please go to this link https://www.microsoft.com/en-us/software-download/windows10

Click on update now, it will download a small executable program, then run the program when it finishes downloading (should be quick) then follow the prompts to update the Windows 10 operating system.

Or you can go through the Start menu, up to PC Settings, select Update & Security, and run the 20H2 update.


*** OTHER CONSIDERATIONS

  • Make sure that the Zoom app you are running is that latest version.  Zoom does not normally update on it’s own, so this has to be done manually. See this article for guidance https://support.zoom.us/hc/en-us/articles/201362233-Upgrade-update-to-the-latest-version
  • Adjust/Disable sound processing to see if that helps.

    Adjusting sound

    By default, Zoom enables a suite of sound enhancements to suppress background noise. In some environments, though, these settings can make your audio choppy. If this is the case, you can disable them.

    If you’re on a PC or Mac, start the Zoom app and click the Settings icon, then click “Audio.” Click “Advanced,” and use the drop-down menus to disable the audio processing options.

    See this page for more on the steps on the disabling and a couple more tips.

Manage Your Inbox with Filters

Click the "Create Filter button

Our email inboxes can become quite difficult to manage, creating a filter is a great way to clear the clutter without removing important messages that we may need to access later. For example, you may get LMS notifications that you want to filter to a specific place.  Follow these steps to help your inbox manage itself using filter rules.

Suppose you get Exit Ticket response emails. You want to move them all to one folder (Gmail calls them labels) to view all at one time.

Inbox snapshot
You may receive several notifications from Google Forms that you want to create a filter for.

It is best to identify the sender and/or subject of these emails to type into the Search bar. You’ll do an advanced search, so click the drop-down arrow.

Shot of search bar and more option drop-down arrow

Add as much information as possible to ensure you get the right messages filtered. Then click, “Create Filter.”

Click the "Create Filter button

Select any filter rules you see as appropriate for that kind of message. You should apply the appropriate Label (or Create one). You may also want to select “Skip the Inbox.” If the case, rest assured, archived emails in Gmail are not deleted permanently after 30 days. They are permanently stored in your email (and now labelled) until you delete/trash it.

Image of filter menu
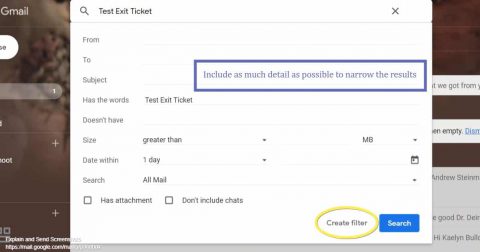
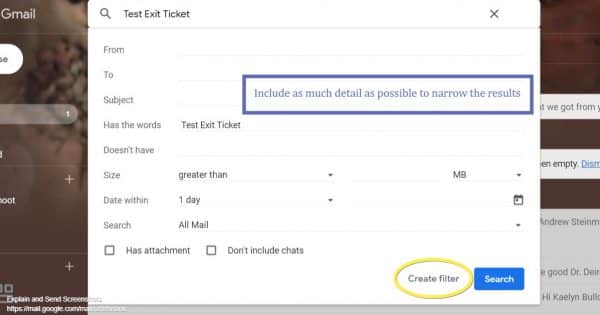
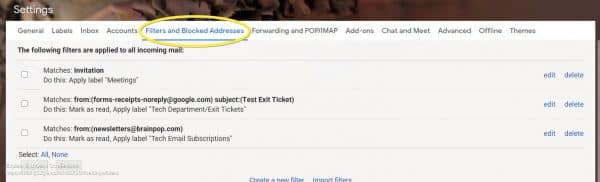
You can always remove or edit your filter in Setting by clicking on the wrench icon in the upper-right corner.

shot of filter settings in Gmail

When you are ready to view the filtered emails, access the Label on the left-side menu.

image of inbox label

Build Community through Games and Play

snapshot of playmeo website

In the next few weeks we will be welcoming students back into our buildings. This will be a very exciting time and it will be important to help students feel at ease and games can be a great way to do that. If you are looking for fresh ideas for group activities and games, the Playmeo website is a great resource.

Many activities are free and you can search by learning theme, program outcome, or activity type. Additionally, you can sort by group size and how much time you have for the activity.snapshot of playmeo website

Safe Search Engines and Research Websites for Students

Research sites

Shelly Sanchez Terrell’s blog, TeacherRebootCamp.com offers a number of musings and resources.  Her December 19th posting within her December 2020 STEM Resources Digital Calendar, comments on student search engine and research site usage and reminds us of sites geared more towards education than the default Google and YouTube students might otherwise lean towards.  Sites such as The Kids Should See This, DK Findout, Ducksters, Science News for Students, are just some of the ones she calls out. Certainly you might already be familiar with some, but perhaps you will encounter one that is new to you that you find worthwhile enough to bring to the attention of some of your students. Happy researching.